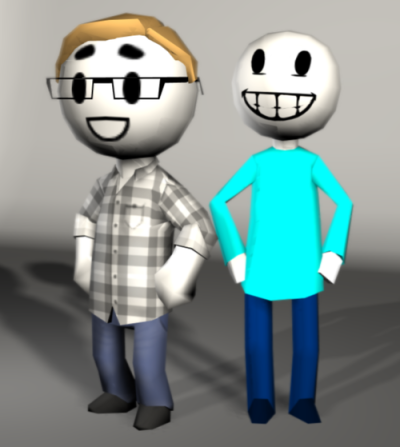
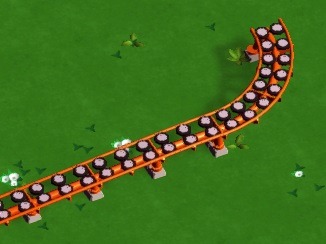
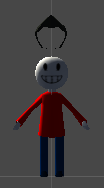
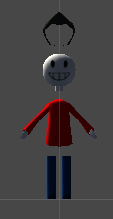
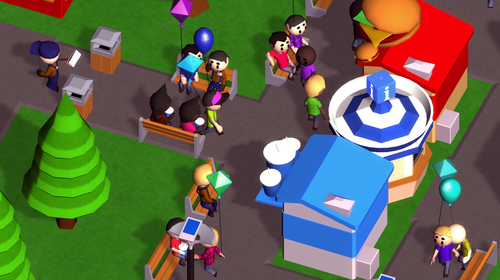
The new guests are in the game!
We only got a handful of different clothes and hairstyles, but that already gives us lots of variety:
And we can easily add more in the future.
Female guests are still missing, but that should mostly just be a matter of modeling them.
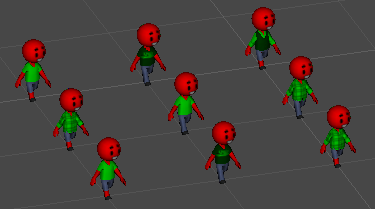
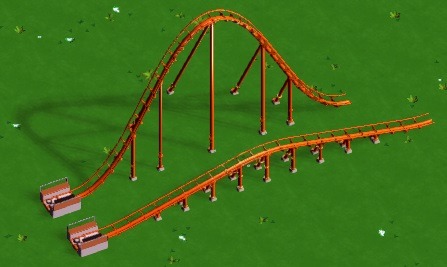
This week was all about replacing the old guest animations and adding some additional new ones. Here are some impressions!
ಠ_ಠ