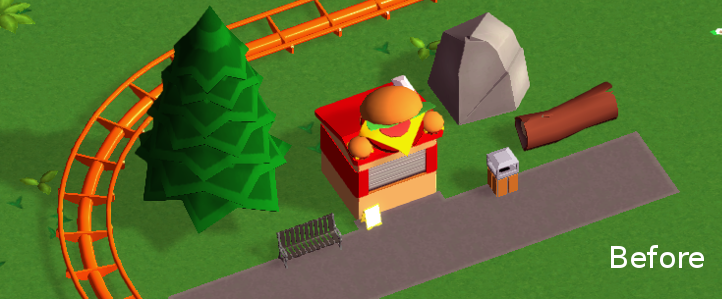
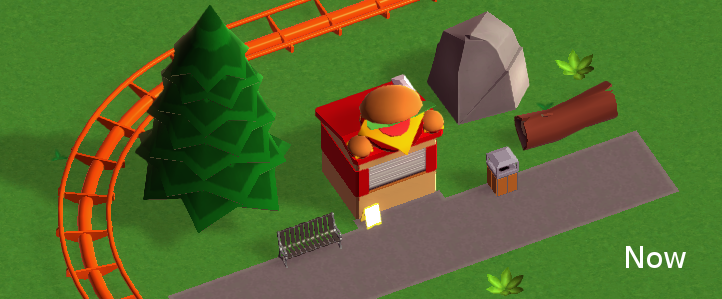
This week has mostly been bug fixes, cleaning up and doing some groundwork for a couple of future features, so it’s a bit of a slow week for the devlog I guess.
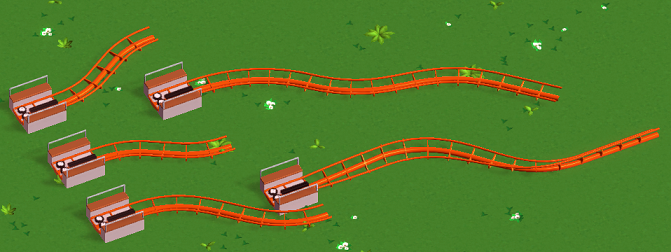
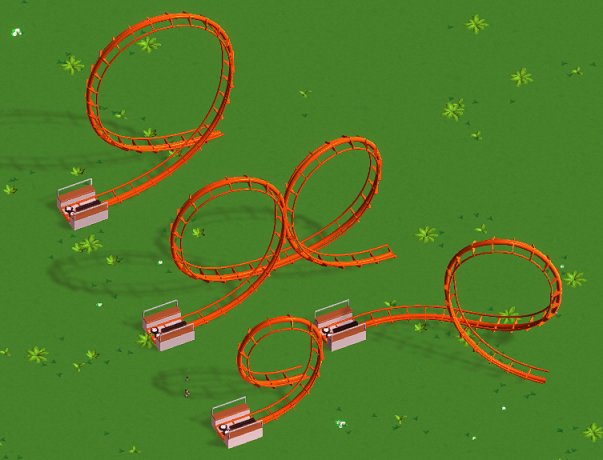
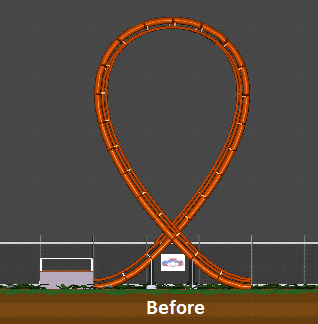
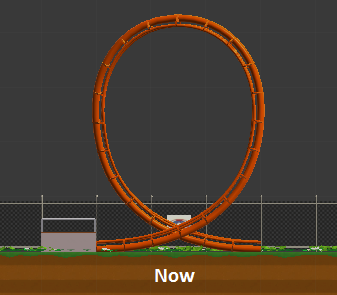
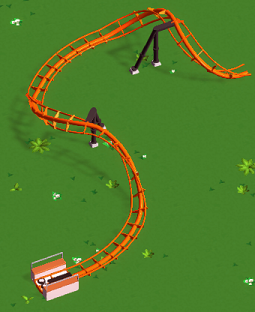
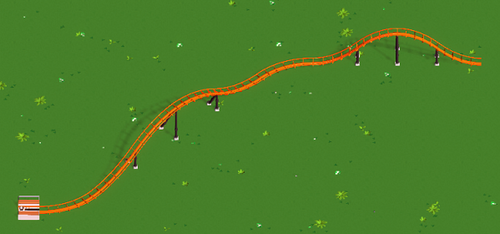
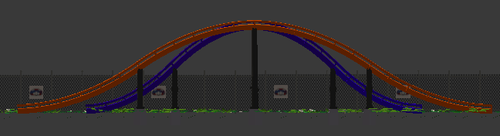
Last weeks loops got some more shape adjustments:
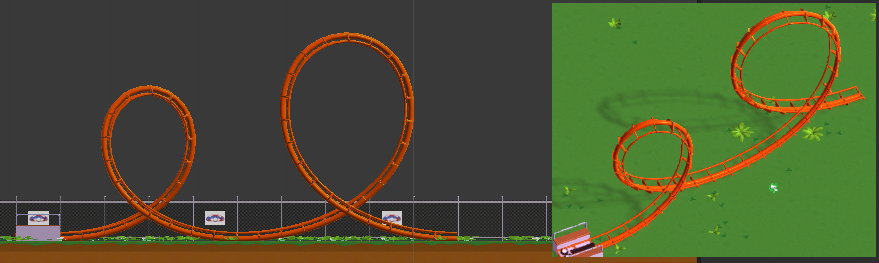
Getting their shape right is a bit harder than expected, but I think they’re pretty good now. Thanks for the feedback and suggestions everyone :)
I’ve done some more work on guest behaviour. They now have a couple of rules for deciding whether they want to leave the park (was entirely random before as a placeholder). Additionally, if they own a park map they’re now able to actively head for an attraction or nearby food stall/cash machine/toilet if necessary. This is what we needed the pathfinding functionality from a couple weeks back for.
We added a launched drop tower ride!
And this is how you build it:
We’re really satisfied with this solution - it’s super simple to use and pretty fun :)