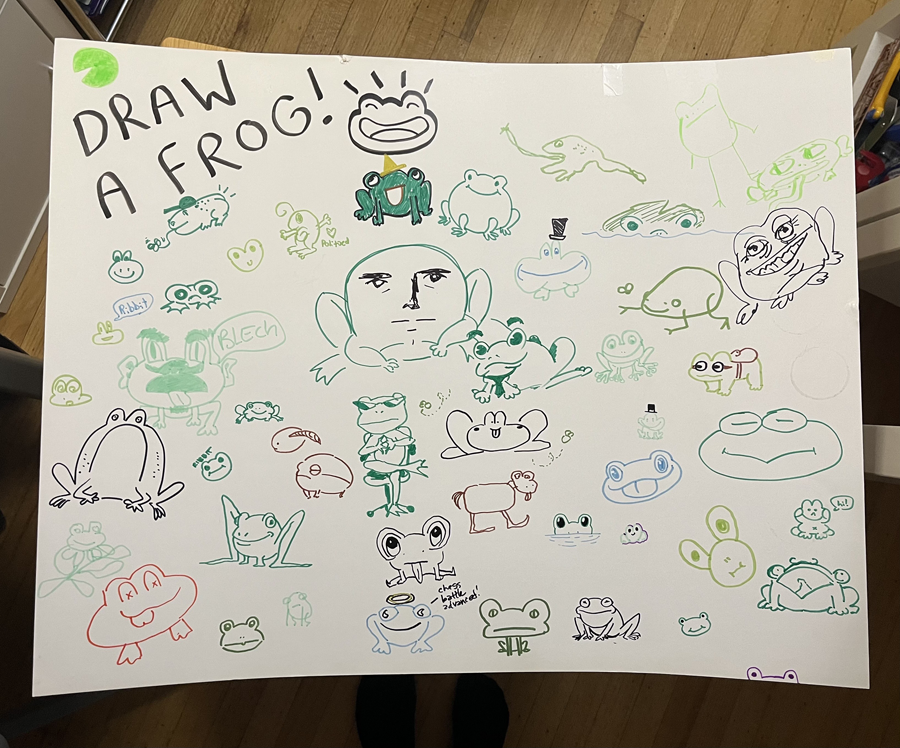
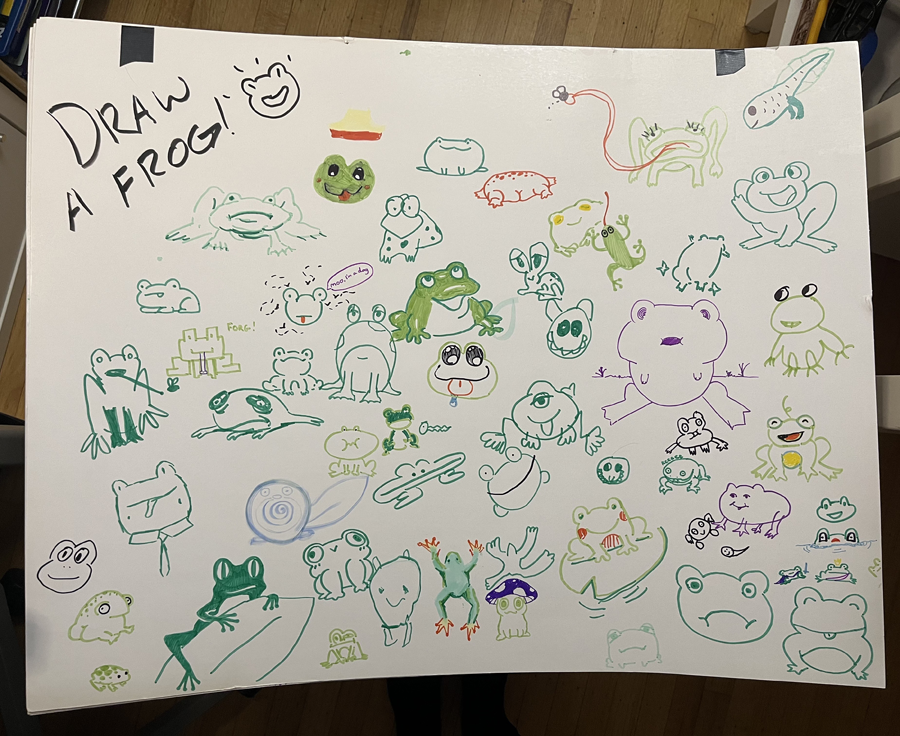
Hey, it's been some time!
If you want to know what we've been up to, make sure to check out Wholesome Direct on June 6th :)
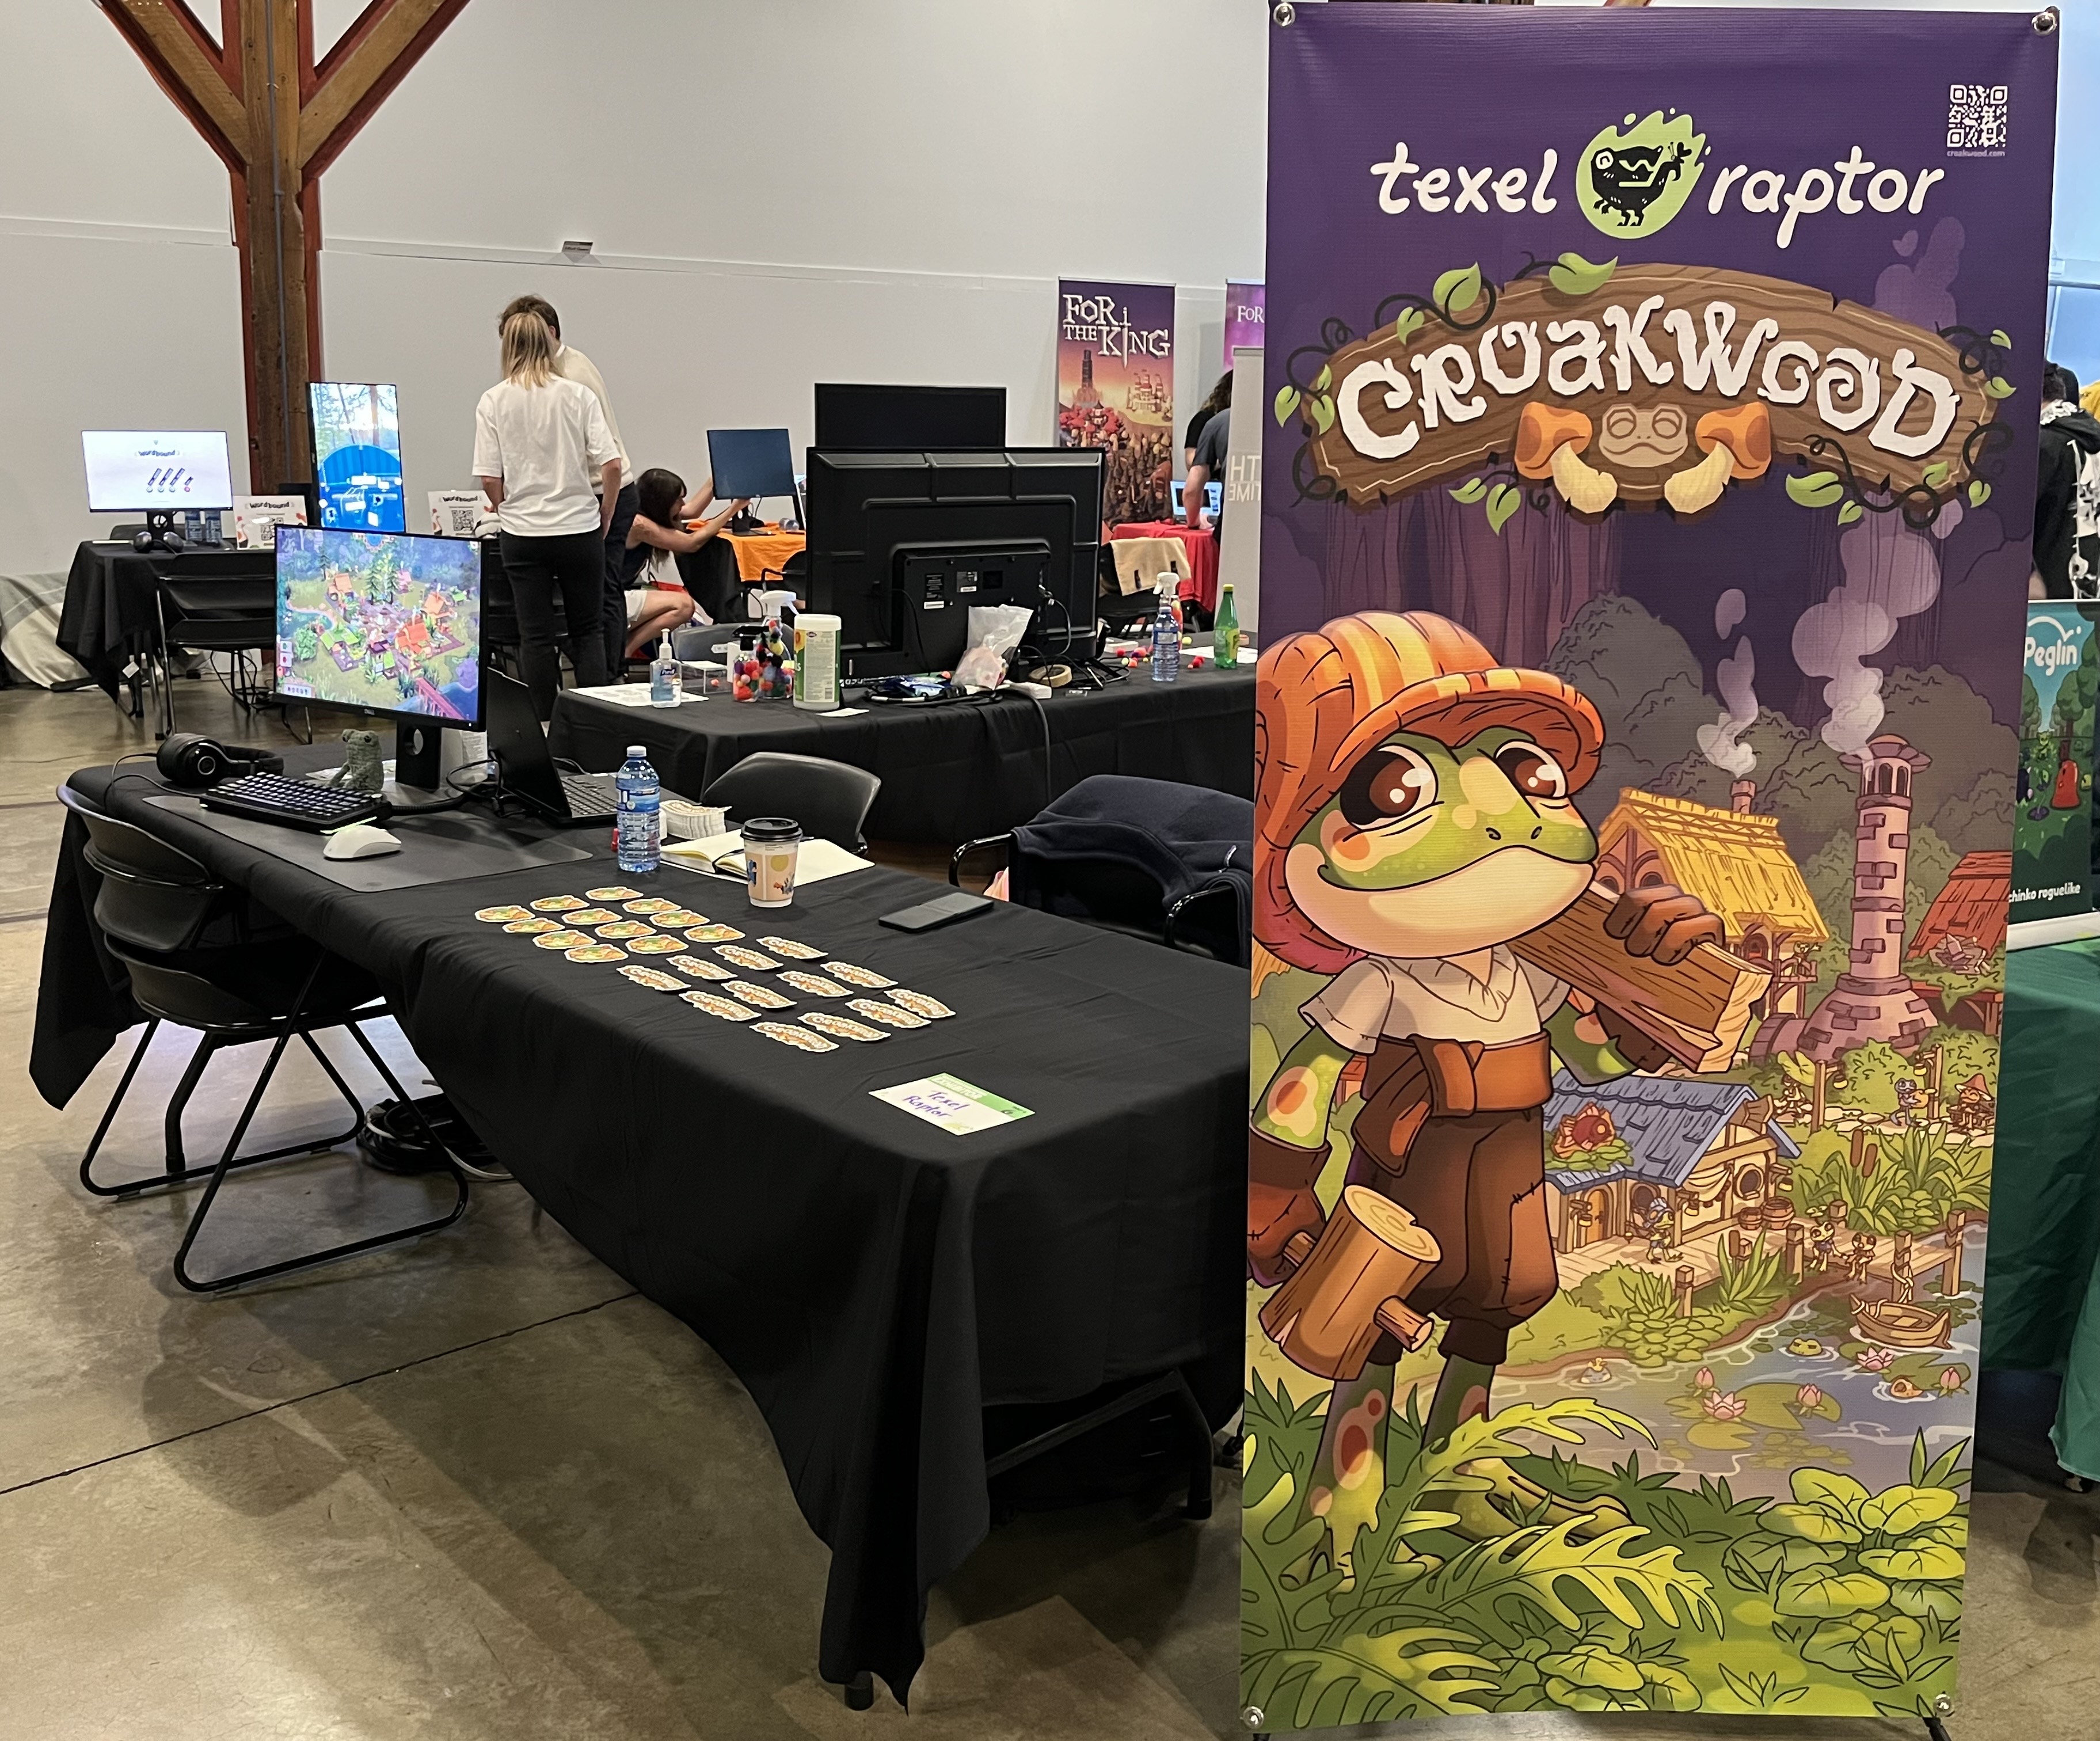
Wholesome Direct
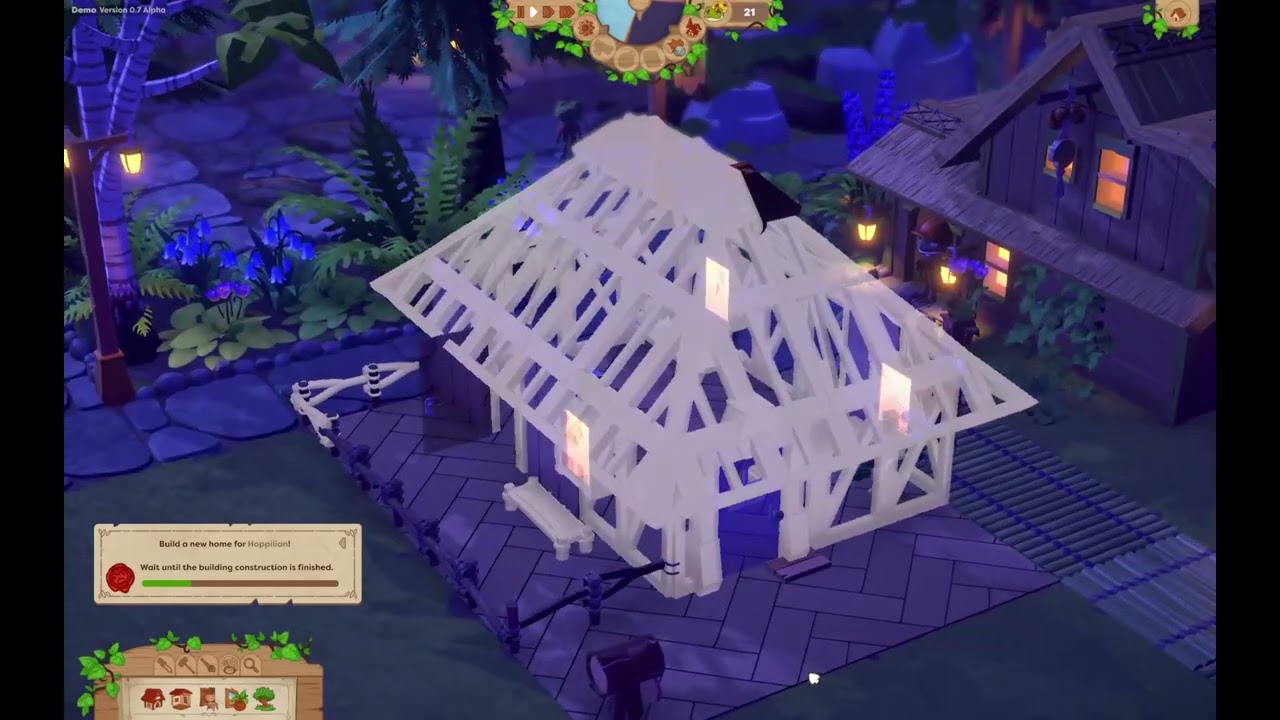
In one of the previous posts I described how the villagers navigate around the world and in this one I want to talk a bit about how they decide where to go and what to do.
Let's take this woodcutter hut for example:
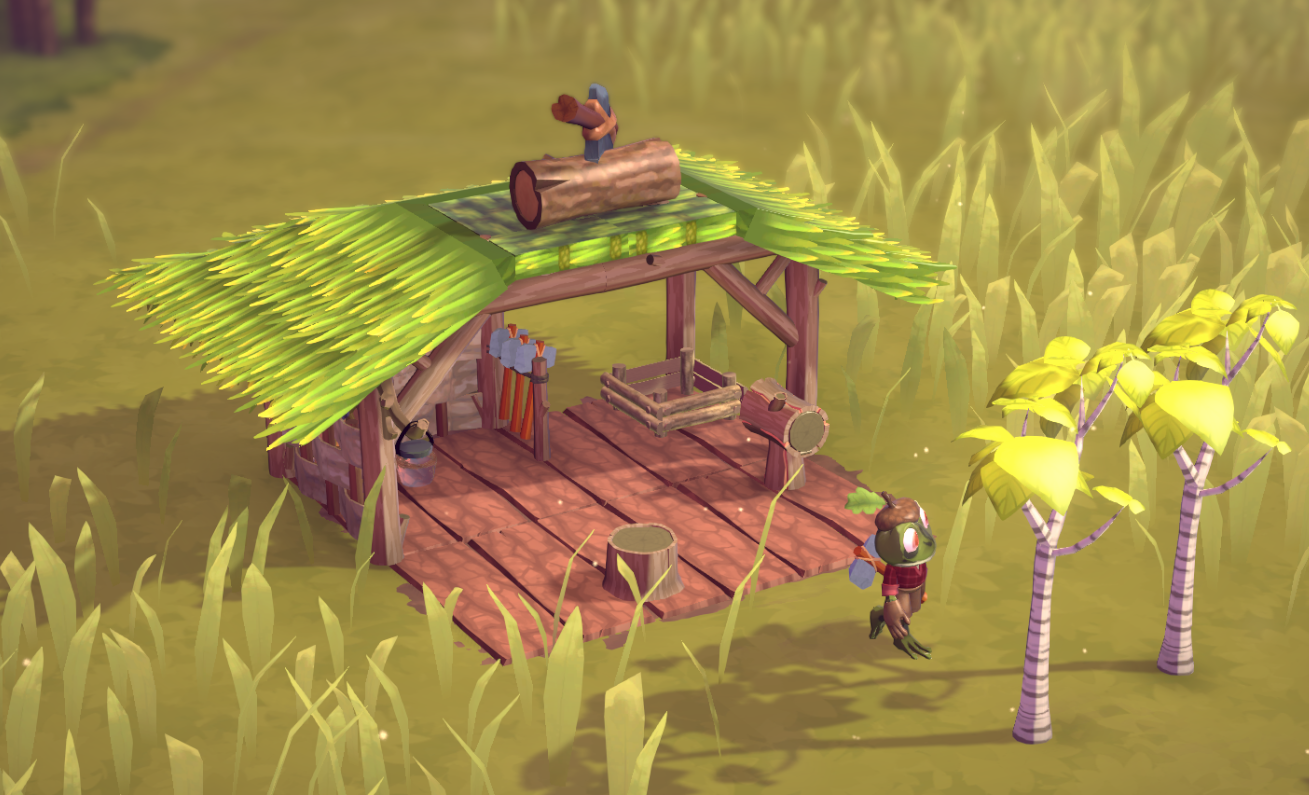
There's a tool rack containing an axe, a few trees around the hut and a place where logs can be stored.
It's quite obvious what needs to happen here in order to produce logs, but how do we put this into program code?
An easy solution would be having some code that says "if you're a woodcutter, here's step by step what you need to do: get the axe, chop a tree, carry the log to storage and put away the axe".
This could be done quite easily with a state machine or if you want something a bit more powerful with a behaviour tree.
That's how we implemented it initially and what we also did for the guests in Parkitect.
However, there's a few problems:
- What if the woodcutter gets interrupted after chopping the tree? For example the player might have built a wall that prevents the woodcutter from returning to the workshop. The woodcutter is still holding the axe, and now there's logs on the floor that need to be transported away. Suddenly our clear list of instructions for what to do doesn't work anymore. We could provide multiple lists of instructions for different situations or make the instructions a bit more flexible (the first instruction in the example could say "get the axe if you are not already carrying it")... but that means we need to think of every possible combination of things that could possibly happen.
- This doesn't create very natural looking behaviors. What if the woodcutter decides to chop two trees in a row? They would put away the axe after chopping the first tree, just to immediately pick up the axe again for the second tree. Maybe we could remove the "put away axe" instruction and allow them to keep carrying the axe, but when do they put it away then? For example they should definitely not hold the axe anymore when they go sleep. We could have a "put away any tool you're holding" instruction as the first item in our "how to sleep" instruction list, but again: for every behavior a villager can do we'd have to think of every possible state they might be in and make sure it's something valid.
So this felt like a pretty fragile solution and we've been struggling with it for some time until we learned about Goal-Oriented Action Planning (GOAP).
GOAP is a planning system that generates the necessary list of instructions in order to achieve a certain goal.
It's a bit like pathfinding, but instead of searching through a list of positions to find a path to a certain location you're searching through a list of possible instructions to find a valid sequence.
The way it works is that first we need to define what actions are available to the villager, and every action also has a list of preconditions that need to be fulfilled in order to be able to execute the action, and a list of effects the action has.
For our woodcutter example it looks like this:

If we now give the villager a goal of "has put down log" the GOAP algorithm takes all of these actions and tries out all valid combinations in a somewhat smart way until it finds a sequence where the last action has an effect of "has put down log".
So for example the trees now offer a "chop" action that has a precondition of "has axe" and an effect of "has log". The villager is not holding an axe currently so this action is not possible.
The axe tool rack has a "pick up axe" action with a precondition of "has empty hands" and an effect of "has axe". The woodcutter is not holding anything currently so this action is possible, and then afterwards the "chop" action becomes possible because its precondition has been fulfilled now and it keeps going like this until finding the "put down log" action of the log storage.
This is really cool, because now we just have to define all of the individual actions correctly which is a lot more manageable and less error-prone.
What's also great is that this makes adding new objects and behaviors into the game quite easy! We just have to set up the new actions an object provides and maybe define a new goal and the villagers can immediately interact with it. It feels so much easier than our initial approach that it's a bit like magic.
Sometimes it even leads to surprises where the villagers reach a goal in a way that makes complete sense but we did not expect :)
The downside of course is that generating the action sequences is not free in terms of computations, especially if there's a large list of possible actions to try, so it's important to keep that list as small as possible. What's also a bit tricky is that Croakwood towns can have many villagers and they are all following their own plans, but because it usually takes quite some time to complete an action list there's not many of them having to create new plans at the same time.
So far this has not been an issue but it's something we'll need to keep an eye on.