We're on track to release Croakwood into Early Access this winter!
Check out our new trailer that's giving a look at lots of new things:
What is Early Access?
Early Access means the game is available to buy and play while it's still being actively developed. The game regularly receives free updates with the newest completed features and content.
Why Early Access?
We think that we are able to make a better game by working together with our community. We experienced this with Parkitect, where the feedback we received has been incredibly helpful to make a bigger and better game than we would have been able to do on our own. While Croakwood has the benefit of so many of the lessons that were gained through that process, it is a very different game that both leans on our strengths and pushes into new territory for our small, but mighty team.
We have been developing this game for many years according to our own ideas, and now we are excited to see what people enjoy and what might need to be improved or expanded.
Early Access allows players to share their experiences and ideas about what the game should be, and gives us an opportunity to incorporate that feedback and adapt our plans accordingly with more flexibility than may be possible past full release.
Approximately how long will this game be in Early Access?
We expect it's going to take about 1-2 years to add the content and features that we have planned for the full release but we'll adjust our plans based on the feedback we receive and what the game needs, so this may change.
How is the full version planned to differ from the Early Access version?
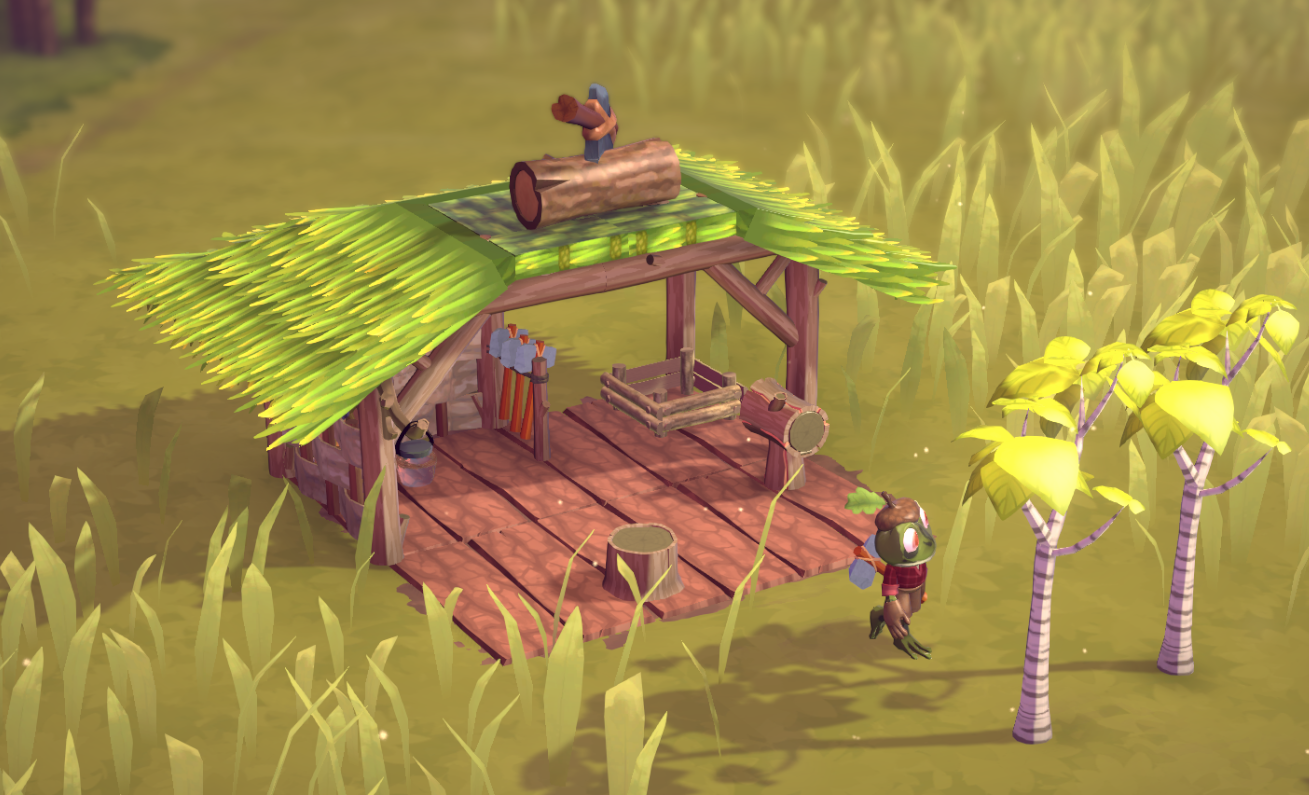
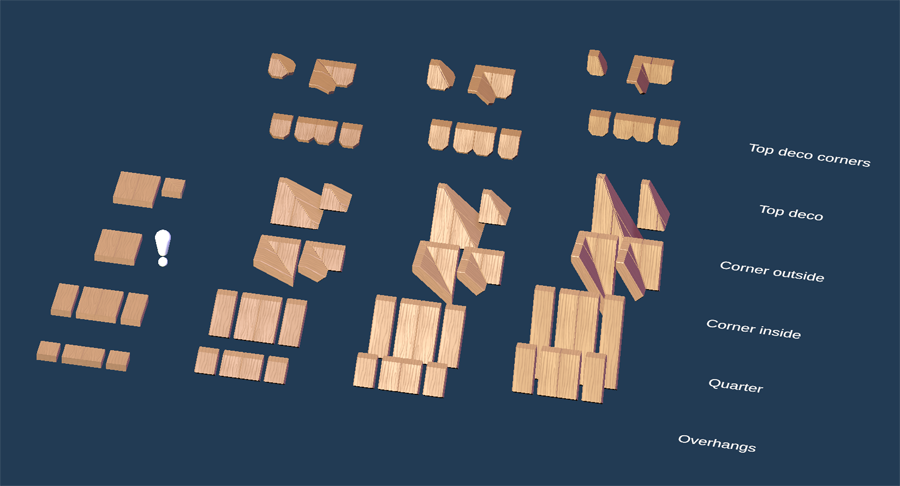
We plan to add more content and features: more decoration and furniture sets, resources, workshops with new resource production chains, world biomes, activities for the villagers, characters you can meet, tasks for you to do and additional depth for the town management gameplay.
What will be the state of the Early Access version?
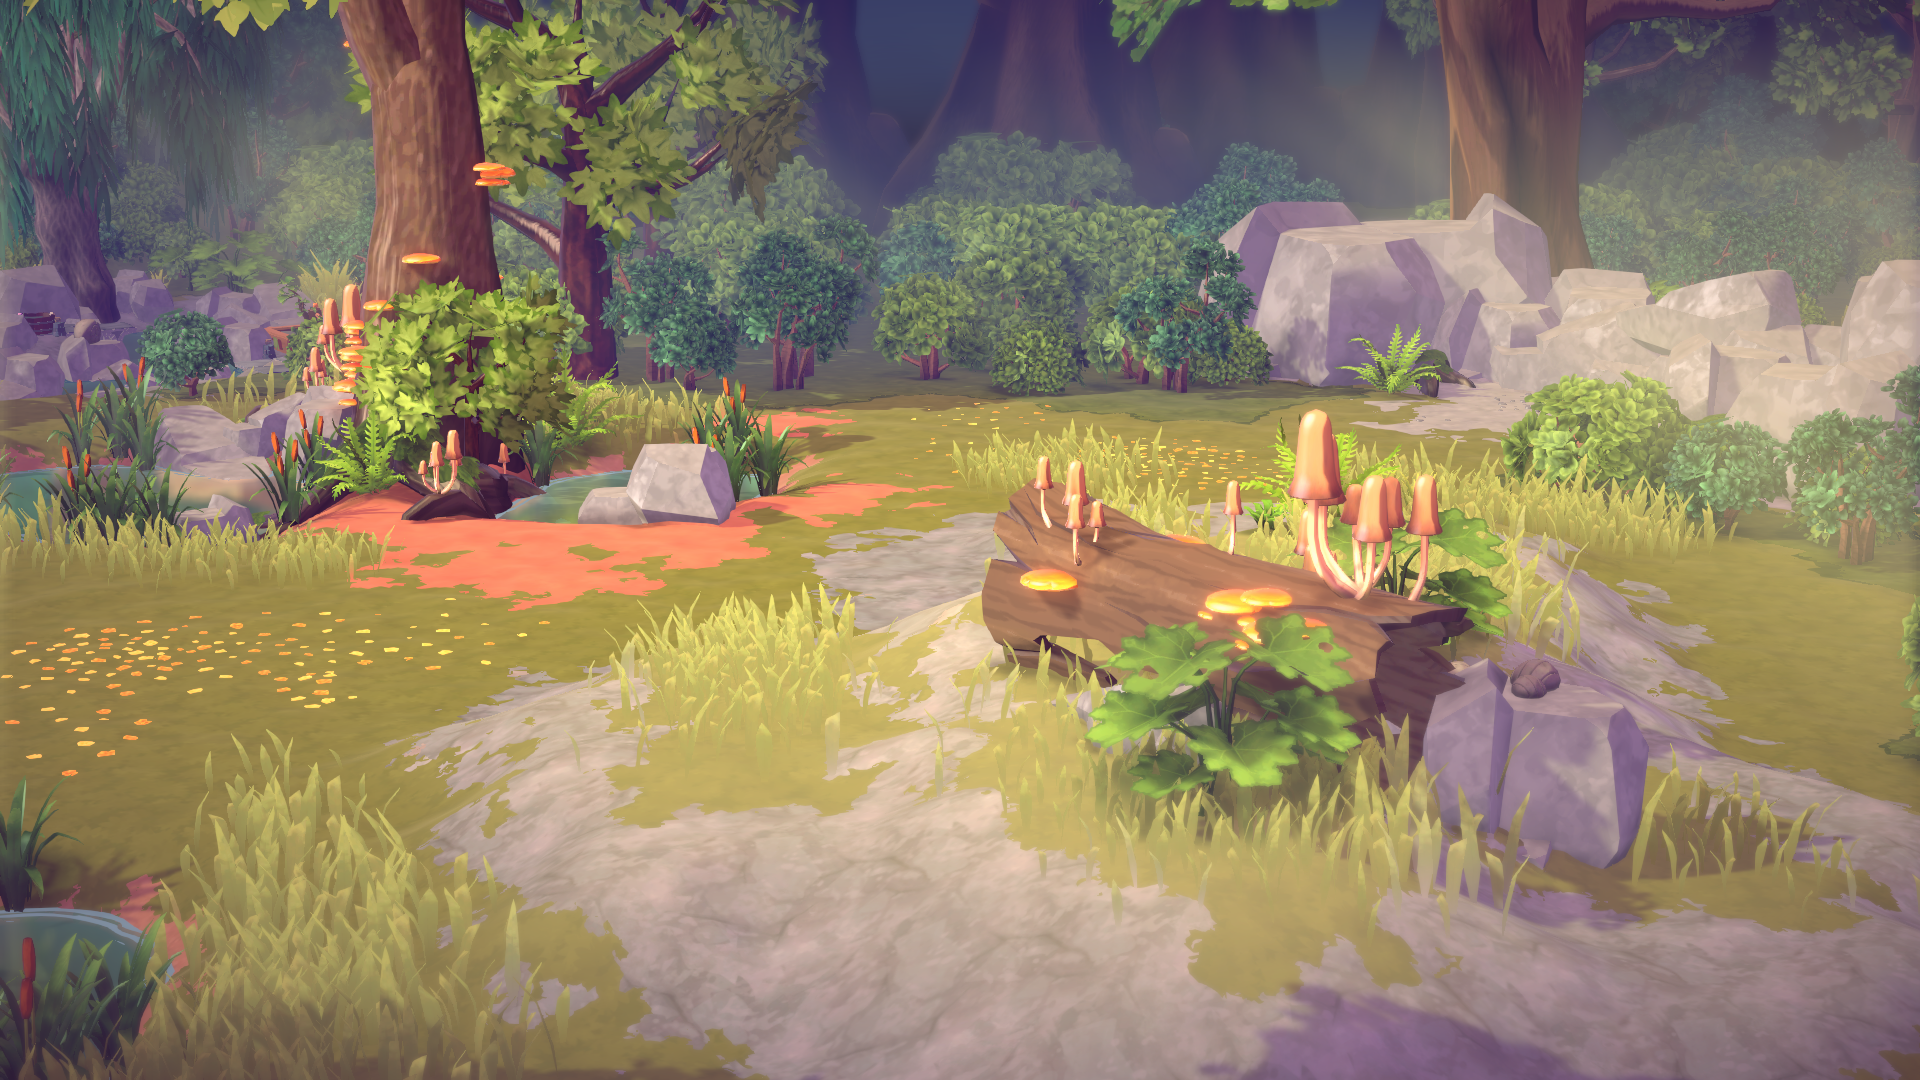
You will be able to construct and run a nice little town: design and decorate houses with many available decoration and furniture items with many customization options; build up various resource production chains and watch the villagers gather, craft and transport resources; watch enjoyable villagers as they inhabit your town; fulfill requests and meet your villagers needs.
Everything we've shown somewhere (like in devlog posts, trailers, screenshots or in the store page description) will be available.
Will the game be priced differently during and after Early Access?
The Early Access price will be lower than we expect it to be for the full release. We think it’s the fairest approach if the price reflects the state of the game at any given point in time, so we'll gradually increase the price as more content gets added.
How are you planning on involving the Community in your development process?
We’re reading and listening to all the feedback we receive on Steam forums, on our Discord, via our website and on social media.
We’re regularly posting updates on the development progress to allow everyone to track how things are going.
When exactly is the Early Access version going to be available?
We don't have a date yet! But we're confident that we can get everything we want to get done ready in time for an Early Access launch approximately within the November-February timeframe. As soon as we know more we'll update you :)
As you may be aware game development time requirements can be notoriously hard to estimate correctly and unexpected life events can happen. We're not expecting any delays, but in case anything unexpected happens we'll let you know.